Joshua Tree Seeds Hand Harvested by Greenhouse PCA in Joshua Tree, CA. Easy to Grow Drought Tolerant Landscaping Trees
Regular price
$13.05
Sale price
$13.05
Regular price
Product description
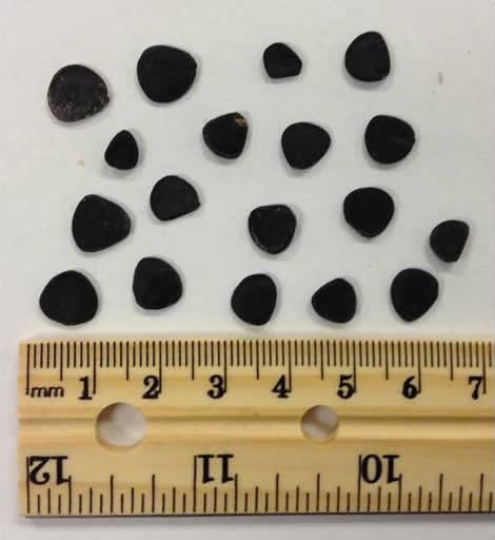
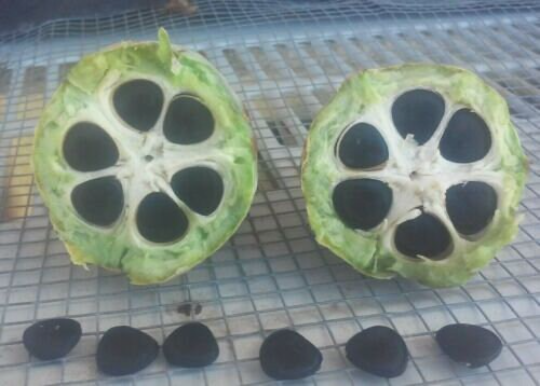
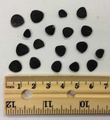
10 Hand Harvested Joshua Tree Seeds by Greenhouse PCA. Easy to Grow and Extremely Drought Tolerant Cacti. These Seeds were Fresh Harvested from the actual town of Joshua Tree, California. They are so fresh that you may see a few bits of shell or dust from the seed pods in your seeds. Don't worry about that, it's just because we literally just pulled the seed pods down, cracked them open and harvested the seeds for you! Many other seeds you can find on Amazon are harvested in bulk and are actually years old! Not these ones, they are from this season, which will mean they have a much higher likelihood of success!
| Germination Information |
1.) Lay them out in one layer between two paper towels in a shallow dish or pot bottom.
2.) Spray the paper towels heavily to moisten them. The paper towels can be soggy but seeds should not sit immersed in water. FirstSprout_small_9397FirstSprout_small_9399
3.) Place the dish indoors in room temperature (away from sources of cold drafts which would delay germination).
4.) Spray them again as the paper towels begin to dry out. Check them every day and make sure they are continually moist but not immersed in water. Keep them warm (indoor temperatures). Watch for changes.
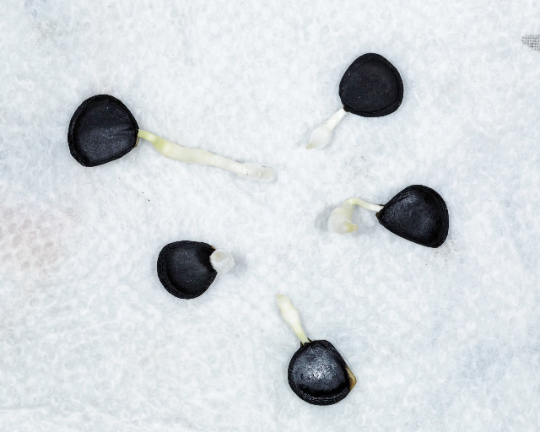
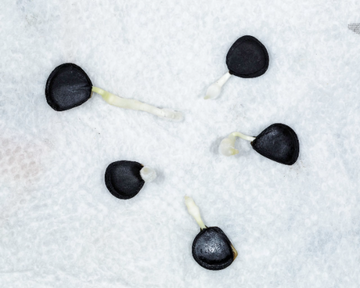
5.) After about 10 days to two weeks, small white stems will emerge from one end of the seed. Keep spraying so the paper towels are just moist to provide moisture to the newly emerging sprout. They don’t all sprout at once, so you may just want to plant up those whose white shoot is longest and keep spraying the remaining seeds in hopes of getting more to sprout. Oftentimes you will get many more to sprout.
6.) At this point, the seeds may be planted in soil, so ready a container with “clean” soil; that is, planting mixture that is new and unused, with less chance of harmful bacteria being present. If you re-use older soil, you can moisten it and microwave it for 1-2 minutes on high to sterilize it. Get a clean start so your plants will not succumb for fungi or bacteria while so young and tender.
7.) Although the seeds can be transplanted into small containers if space is a problem, it is better to choose at least a gallon container that will allow a seedling to grow undisturbed for some time (years). You will be increasing the chances of survival in a gallon can both by not having to transplant for a year and because more soil holds more moisture for the plant.
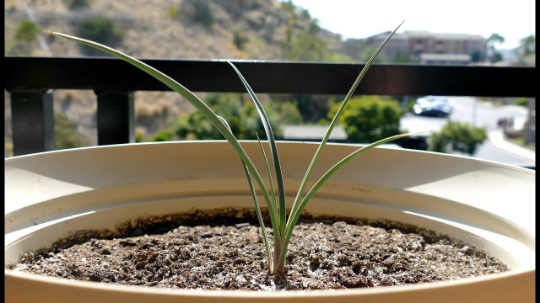
8.) Plant the white stems pointing up. They will emerge from the soil and, amazingly, arch back into the soil to establish the permanent plant from which the roots will grow and the tree will emerge.
